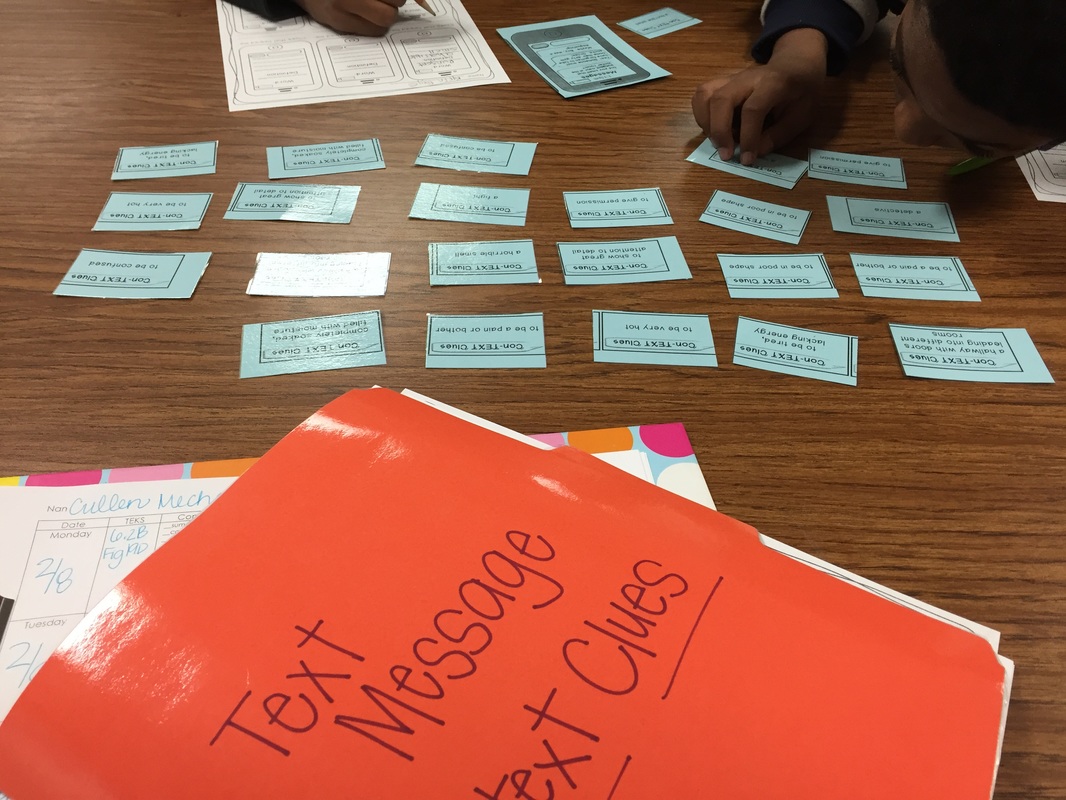
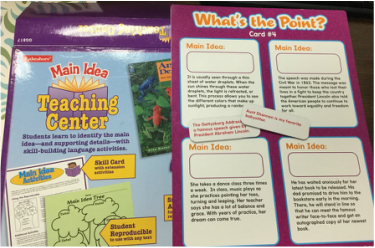
During my intervention blocks, we devote the beginning to Word Work/Phonics. The students I work with are the kids who are struggling to read on-grade level and sometimes just struggling to read at all. So I can't just keep throwing more reading AT them, I have to find out where they are and start teaching phonics and word work from that point. One book that I have relied on for support with this it Teaching Phonics and Word Study in the Intermediate Grades. I love this book as a resource that I can always flip through to find direction or inspiration.
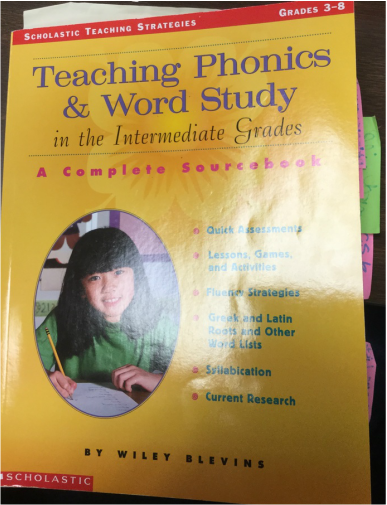
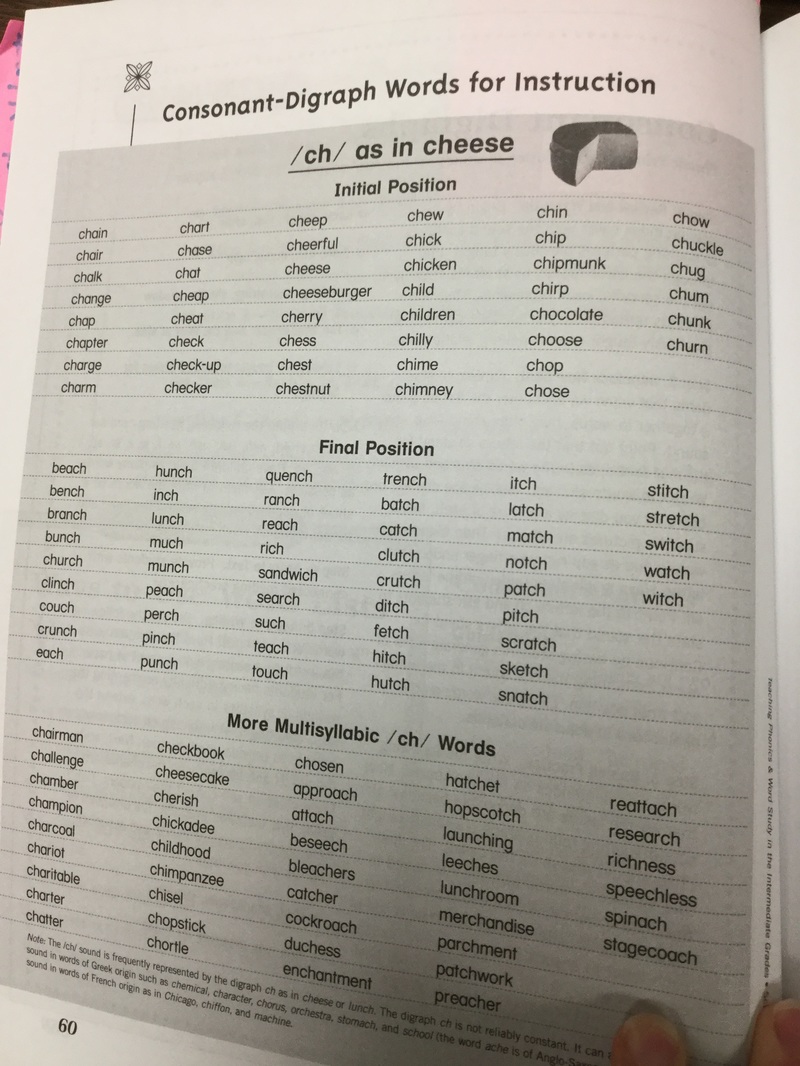
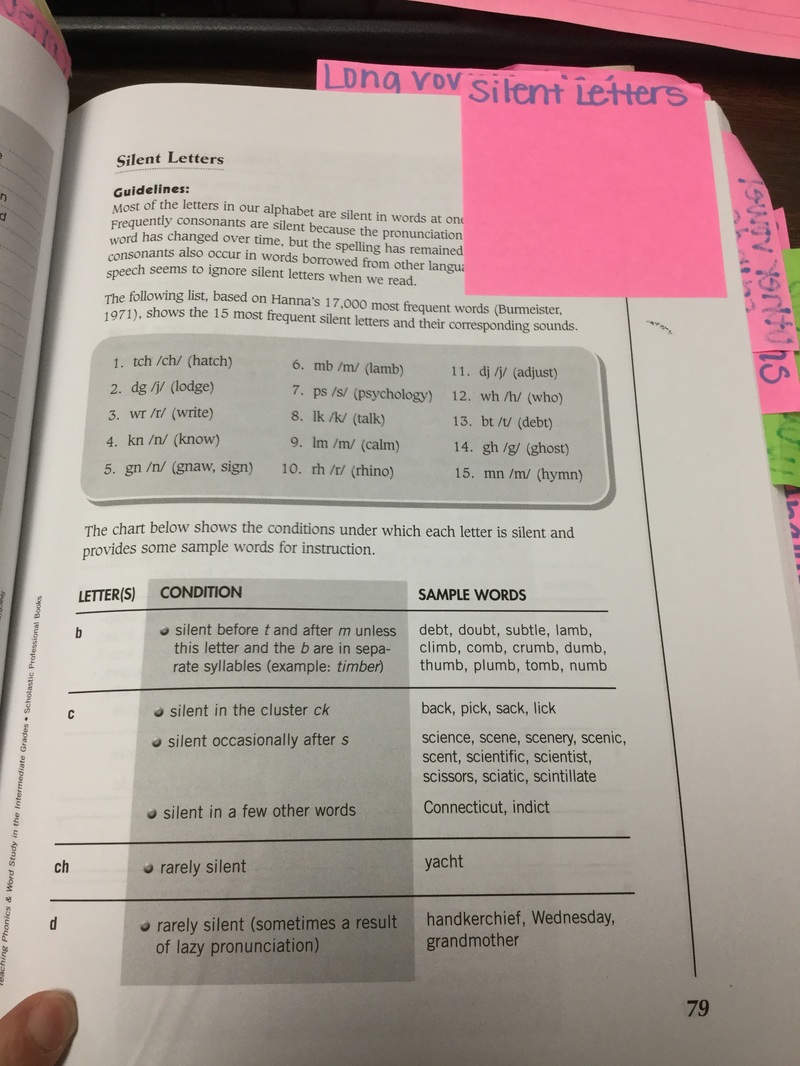
This book is great for ideas or sequence of what to teach but it's also full of lists that I constantly refer to when I'm teaching new rules or patterns.
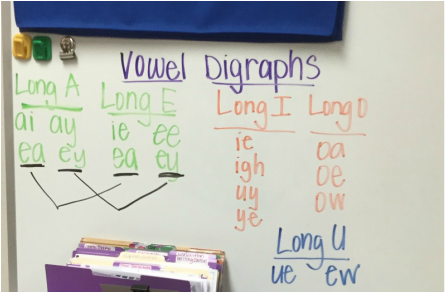
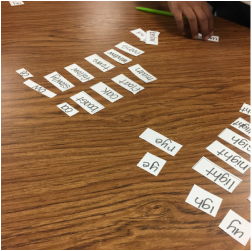
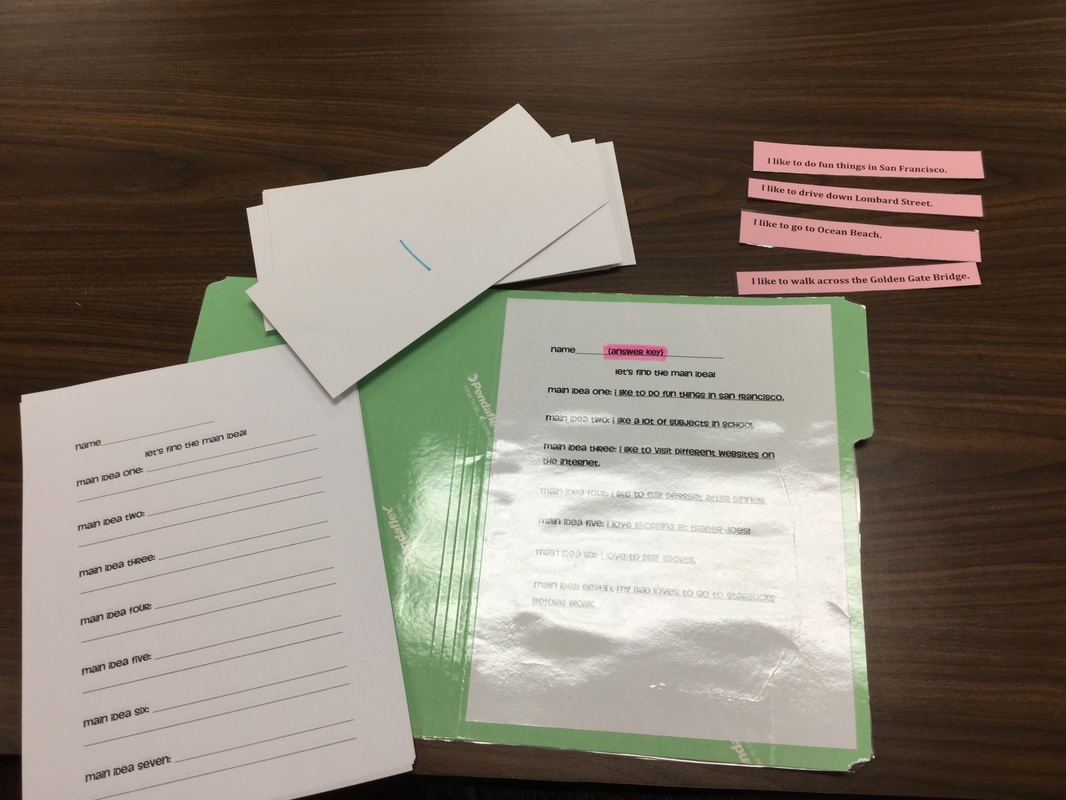
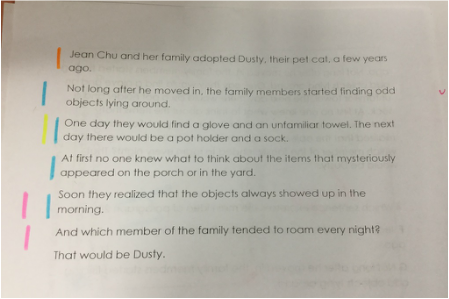
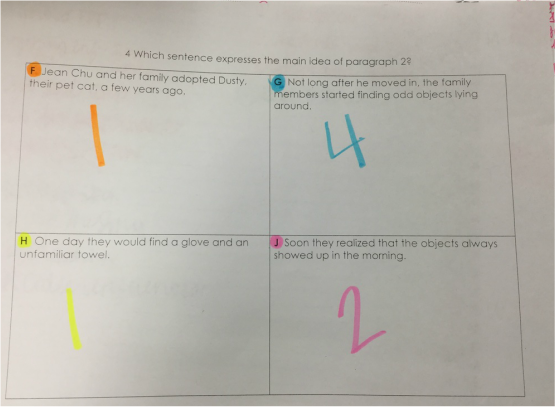
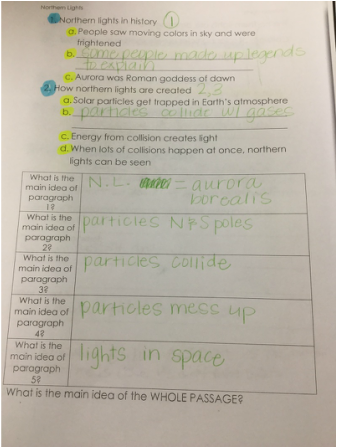
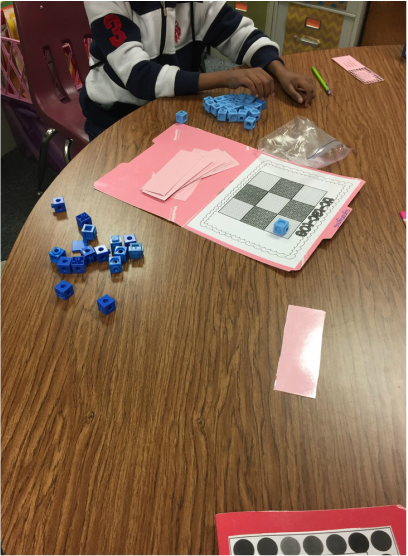
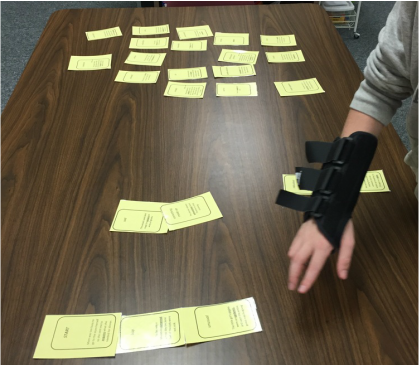
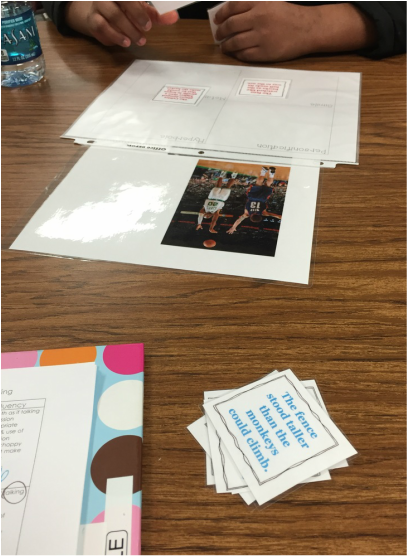
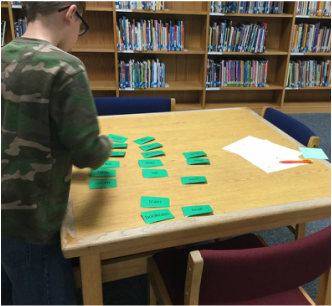
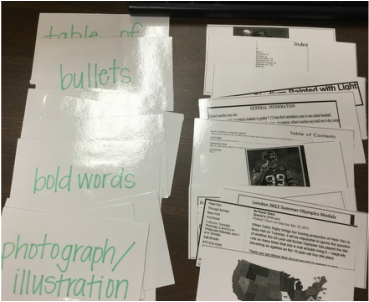
Our Word Work time has a phonics focus. Below you can see a focus on Vowel Teams/Digraphs. We focused on two at a time (until we got to U) and we just took some of the most common digraphs to practice with. Our time begins with a look into what our focus is for the week (which is what the picture below is of). We discussed the digraph's sounds and the vowel team combination that could make that sound.
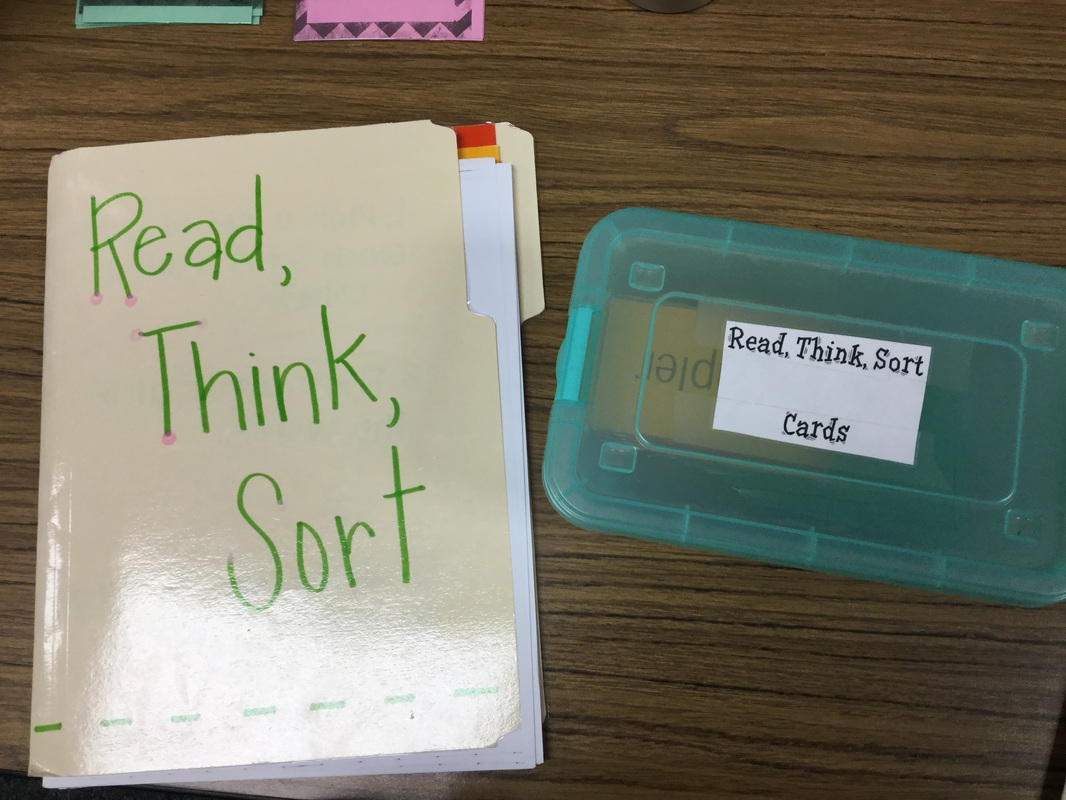
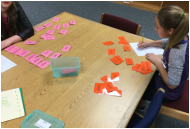
Once we have introduced the focus, we complete a sort based on the patterns/rules the words use.
We sort the words each day of the week, but then after the sort we usually do a different activity. Some days it's simply saying them aloud (especially when I'm working with the students who need decoding work) because that allows them to see and practice the rule. For example, if we are working with long i and they are struggling to decode the word, I remind them of the rule/pattern and they know to sound it out using the long i. Some days I have the words uploaded onto Spelling City so that one or two students can play with the words on there while I work more intentionally with students who need it (again, the decoding, pattern practice). Sometimes towards the end of the week we will use the white boards for an assessment or a quick game of hangman. Many times they beg for a crossword. I usually have one ready and allow them to work on that while I'm working with an individual or if they finish something early. Our Word Work time is usually about 10 minutes total and I feel like we get a lot done in those 10 minutes each day. The majority of students have not been taught phonics and that is okay for most students. But when they are struggling to progress in their reading, many times it is because they are needing some phonics and word work.
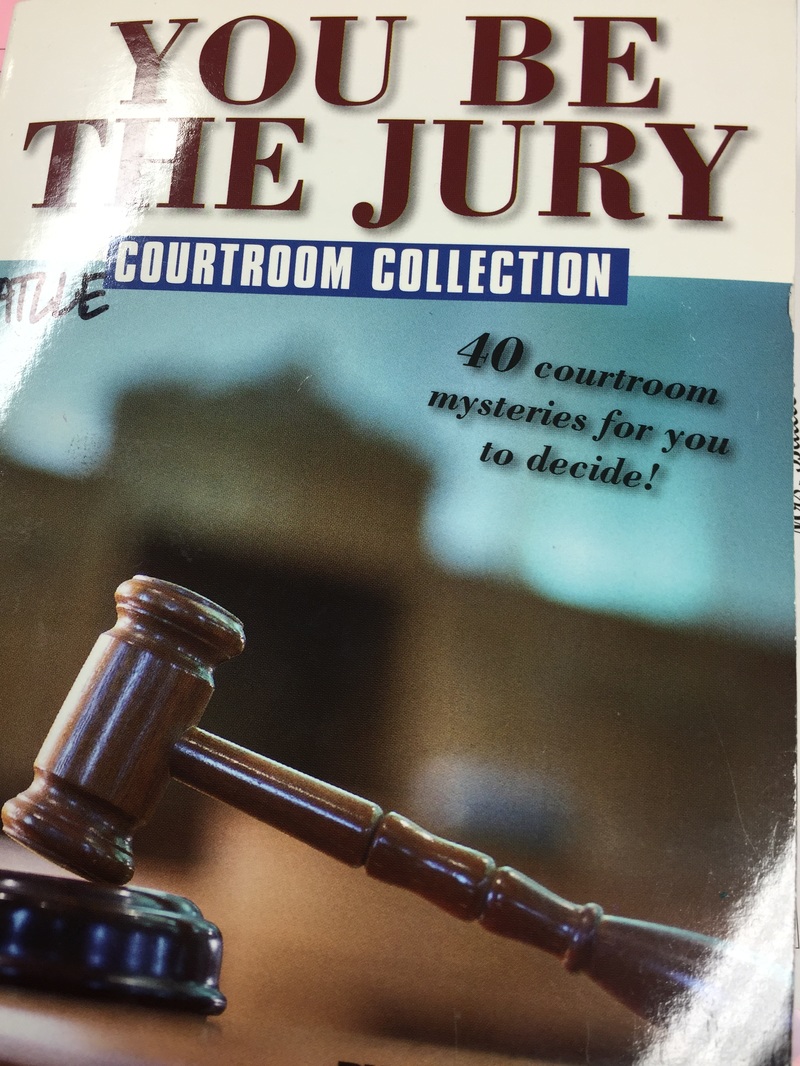
I get the majority of the crosswords from here. They are easy and work really well for when I'm needing to give attention to someone in the group. The crosswords (for some reason) have been something the students have loved this year. I also use this book for ideas for word lists when I'm making the sorts.
I get the majority of the crosswords from here. They are easy and work really well for when I'm needing to give attention to someone in the group. The crosswords (for some reason) have been something the students have loved this year. I also use this book for ideas for word lists when I'm making the sorts.


 RSS Feed
